IF YOU REACHED THIS PAGE VIA A SEARCH ENGINE
THIS WILL TAKE YOU TO OUR HOME PAGENeatening-Up a Model 1922
Page 3 - Barrel and Sights - More
In order to install the old sights on the new barrel, the two small, shallow holes need to be drilled into (but NOT through) the barrel. These holes must be on the exact top of the barrel. First, the inside of the sight base bands was cleaned of excess solder and the sights slid onto the barrel.
The barrel was held in a padded or soft jawed vise, and the receiver was leveled. A bar or straight-edge is held against the underside of the receiver and a level is placed on the bar/straight-edge. The whole thing rotated until the receiver (underside) is level. In the photo above, my bar/straight edge is a level, but I am using the level built into the machinist square to actually level the receiver. All this was done just to confuse the reader.
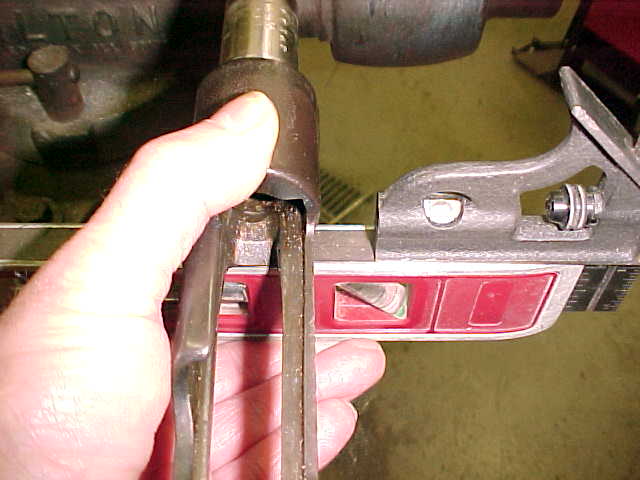
Once the receiver is leveled, the rear sight is placed into position and leveled. I am using the same level, facing the same way in order to cancel out any inaccuracy in the level.
Once the rear is leveled, the receiver is checked for level again, the rear is double-checked, and the barrel is marked, through the set-screw hole, using a transfer punch.
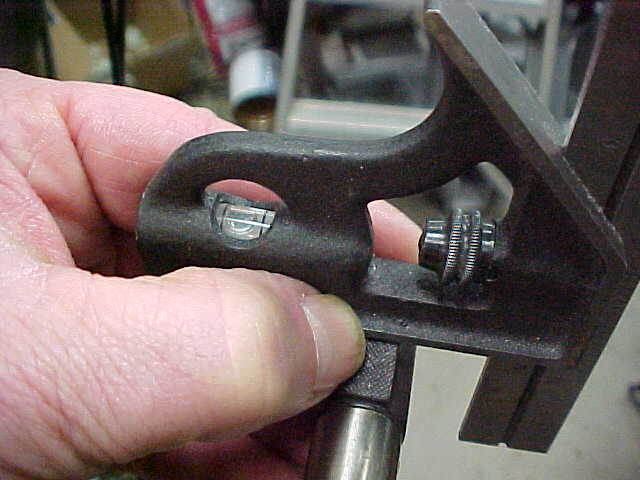
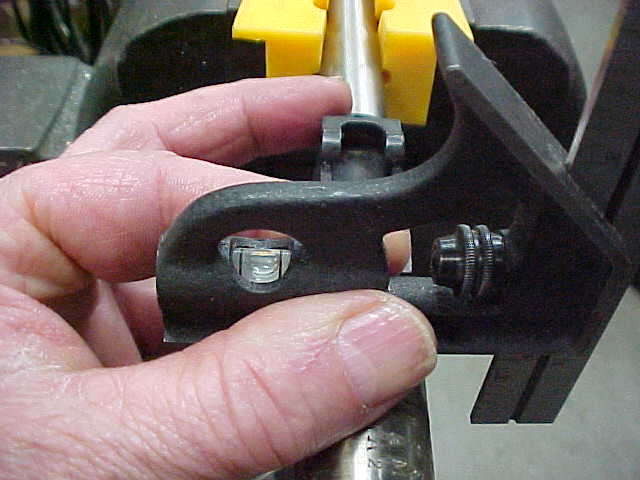
The front is done the same way. Everything is double-checked, eyeballed for looks and another prick mark is made. This time a slightly small transfer punch is used, but the same way, passing through the set-screw hole in the base.
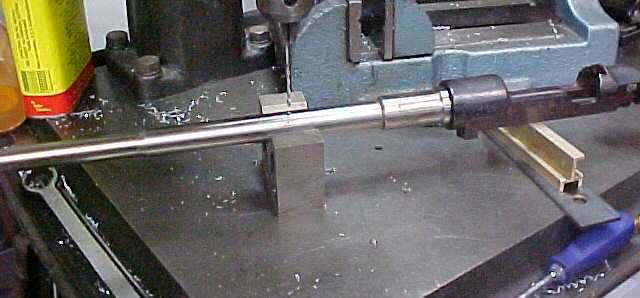
The barrel/action was placed on the drill press table, with the barrel in a V-Block and the action on some flats. The V-Block is not strictly required, any old support is OK. The flat or parallels ARE required to support the receiver. It is important that the receiver be parallel with the drill press table. The receiver can be supported on a GOOD wood block, a piece of pipe laid flat, or anything else that has parallel sides. Once the action is supported, just stack anything under the barrel until it's NEAR level. It's not so important the barrel be level, long-wise, just the receiver, cross-wise.
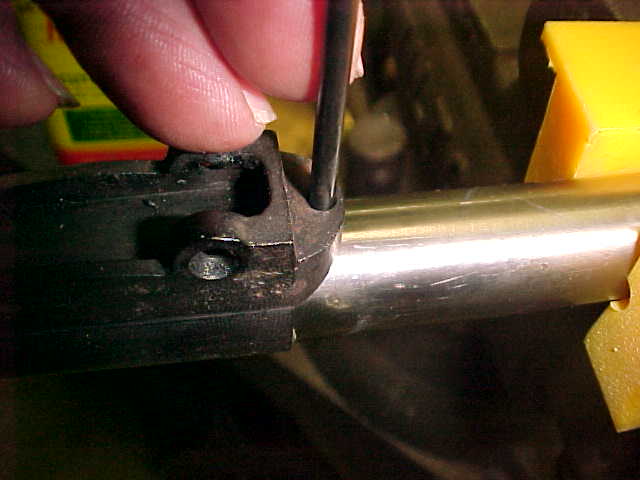
Once lined up the drill is placed over the prick-mark (you can deepen the mark with a center punch) and a shallow hole is drilled.
If your press table is not long enough, a GOOD board, or a piece of metal can be fastened to the table with C-Clamps.
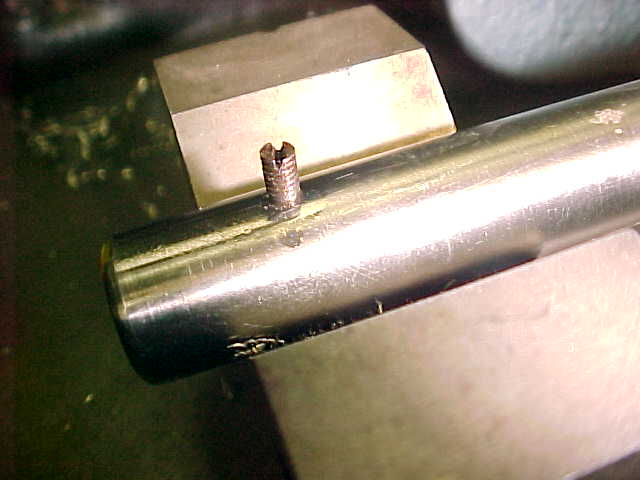
The front shallow hole is drilled the same way. The above photo shows the set-screw setting in the hole, just a test for depth. I measured the "point" of each set-screw and used a drill slightly bigger in diameter. For this rifle, a #40 was used for the front and a #35 was used for the rear.