IF YOU REACHED THIS PAGE VIA A SEARCH ENGINE THIS WILL TAKE YOU TO OUR HOME PAGE
The
Mauser Bolt Handle
A
Different Approach
From the E-Mails I receive, I find that the bending/welding of the Mauser bolt handle is the single biggest hurdle to be overcome by the amateur riflesmith. The investment in an oxy/acet or electric welder is a major one that many would be smiths cannot afford. BUT, the only GOOD way to mount a scope on a Mauser requires the "relocation" of the bolt handle. So, here's another way:
The silver solder re-work of the Mosin-Nagant M44 worked so well that I tried it on a Mauser.
This takes a little getting used to, but it sort of grows on you (I hope):
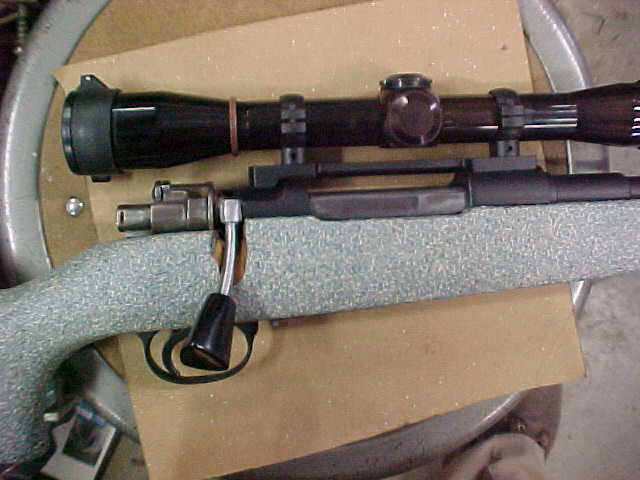
The stock was cut out for another bolt, the plastic knob was one I had on hand, and the old "stub" from the original handle needs some more dressing, but all the work was done with a Propane torch, a drill, a Dremel tool, some files, and some Silver Solder and Acraglas.
If this suits your taste, or if you can get used to it;
Here goes:
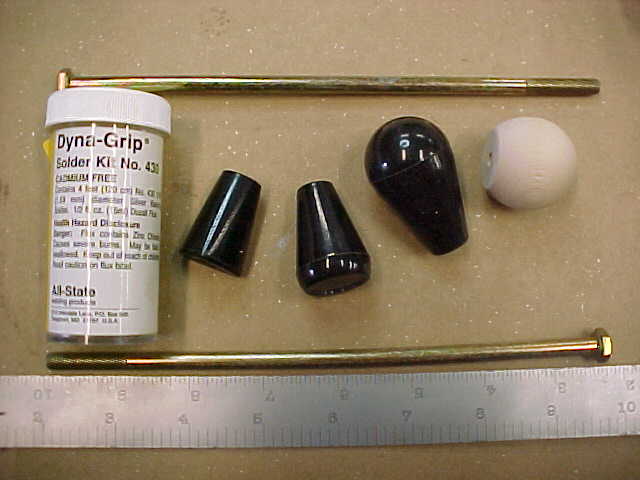
This is the STUFF needed; one (two shown-one needed) 1/4-inch Grade 8 bolt about 5 inches long, a knob, some plastic and a wood one are shown, and some CHEAP silver solder. The bolts ARE straight, spherical aberration (?) of the camera lens makes them look bent. Ý Ý Ý
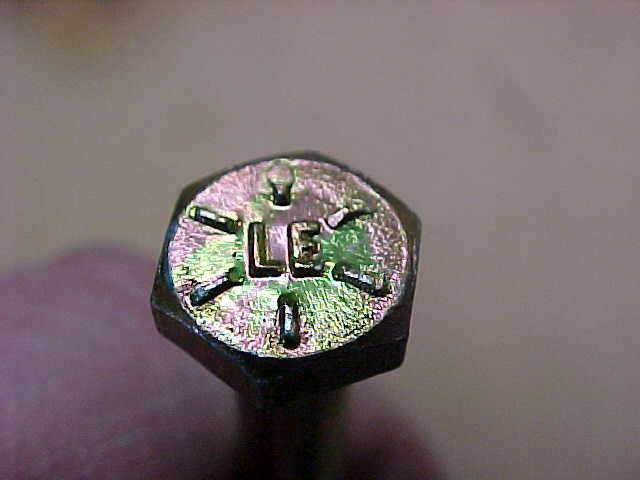
So what's a Grade 8 bolt? Well, bolts are sold by strength, with the common, or Grade 2 being the "hardware store" variety and weakest one sold, and getting stronger as the Grade number increases. The grade number can be identified by counting the markings on the bolt head and adding two. The head shown above is a Grade 8, six marks plus 2 equals 8. The "LE" is the manufacturers' logo. Anyway, this is one strong bolt, AND HARD TO BEND !!
The first step:
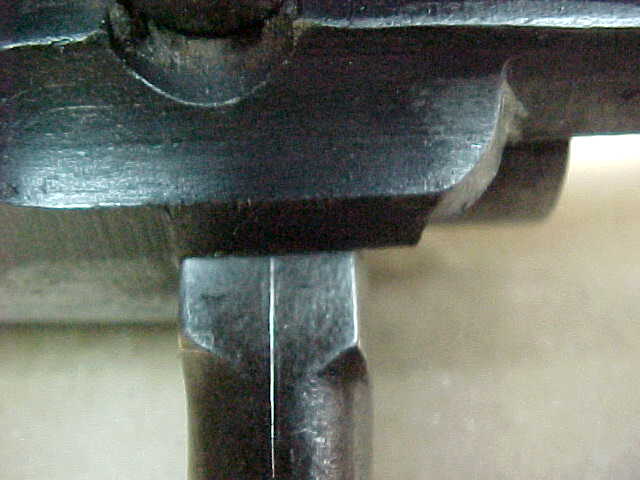
A center line is scribed on the underside of the bolt handle. The photo above shows the handle in the action, from below.
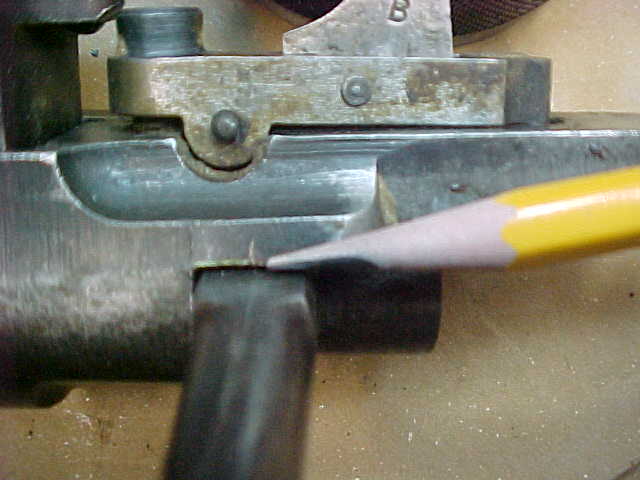
Using a scribe, transfer the centerline to the receiver, as shown at the end of the pencil, above.