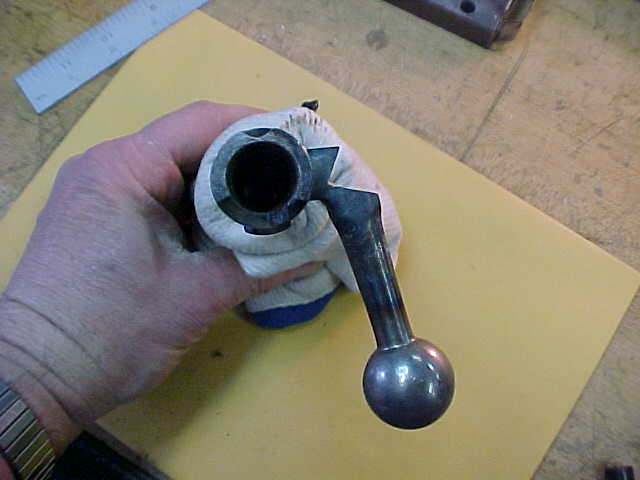
Bending and Welding the Existing Handle
Forging the handle leaves us a
little short, and cutting off the handle and welding on a new one requires a
jig. This method uses the existing handle, gains some length, and since the
handle is never cut completely off, a jig is not required. As you will see, the
welding required is not hard since it is on the exposed side of the handle.
First, mark the cut to be made with a magic marker.
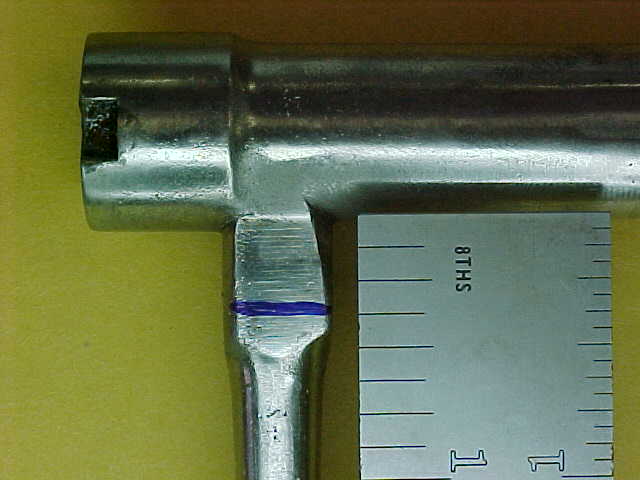
On the top of the handle, draw
a line 3/8-inch away from the bolt body.
On the bottom, draw a line 1/8
inch from the bolt body. (ignore the 1/16 ths on the
scale, the divisions seen are 1/8 ths).
Connect the lines on the top
and bottom with a diagonal line on each side.
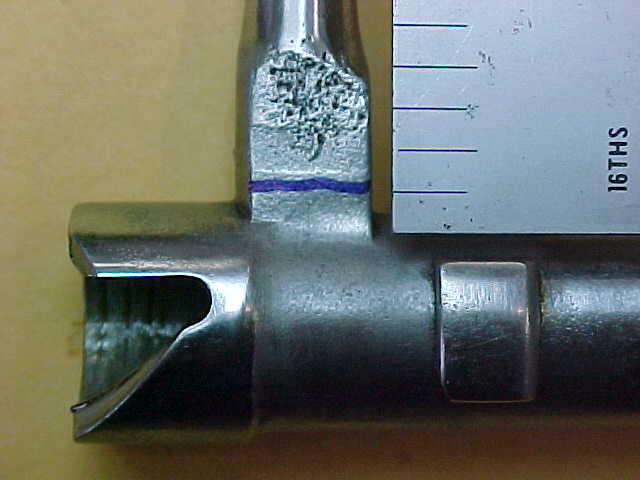
With a Dremel
wheel, I used three to do this, cut from the top diagonally downward BUT DO NOT
CUT THE HANDLE OFF. I don't like to remove the extractor collar from a Mauser bolt, so I wrap the sleeve with plastic electrical
tape to keep abrasive dirt from the cutting operation from getting into the
extractor collar recess.
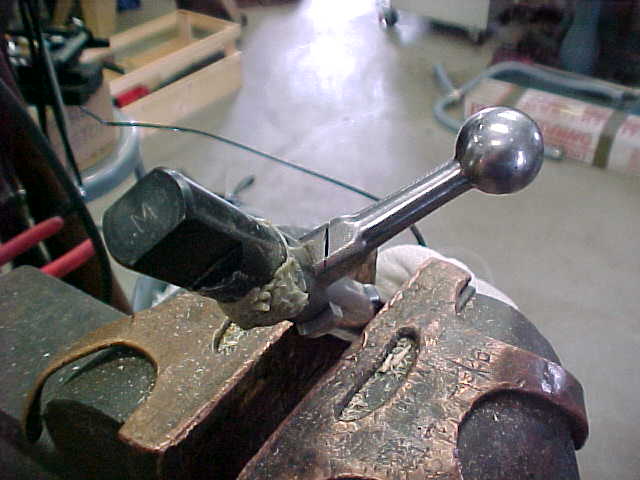
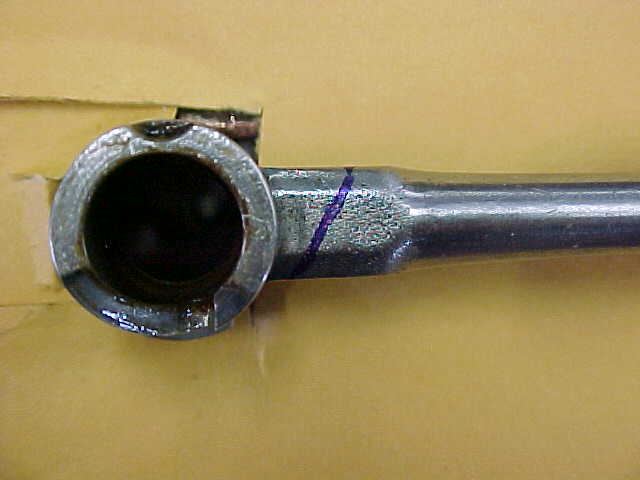
Place the bolt in a vise. We
are going to heat and bend the handle downward to open-up the cut. The bolt
guide rib is against the rightmost vise jaw, this will
prevent the bolt from rotating. A wet rag is firmly tied to the locking lug end
of the bolt, the heat sink is inserted, and a liberal coating of heat stop
paste covers the cocking cam. DO NOT TRY TO BEND THE HANDLE UNLESS IT IS HEATED
TO A CHERRY RED HEAT, IT WILL BREAK OFF !!!!!
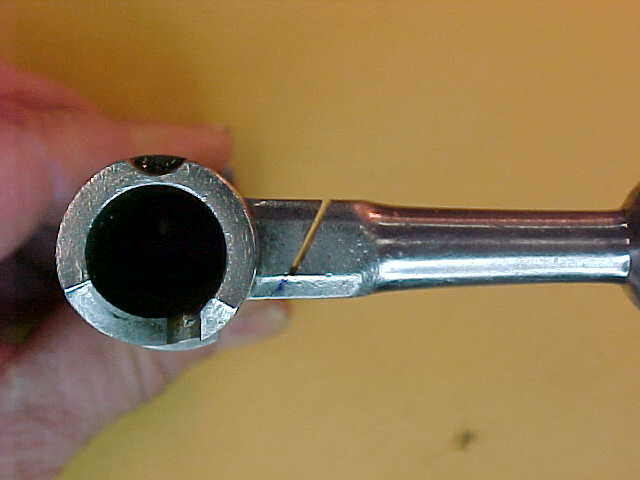
Here is the bent and still
attached handle. The now open cut will be filled with weld, the handle
re-heated and swept outward and rearward. Then smoothed and polished.
MORE TO COME