IF YOU REACHED THIS PAGE VIA A SEARCH ENGINE
THIS WILL TAKE YOU TO OUR HOME PAGEThis will take you to the Index for this series..
Installing a Side-Swing Safety
Page 3 of 3
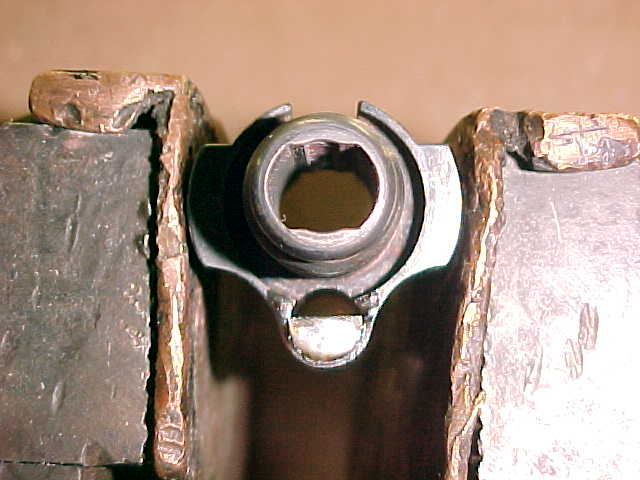
Here Ý Ý Ý is the pivot arm in the "SAFE" position. See that the pivot arm is blocking the passageway for the cocking piece.
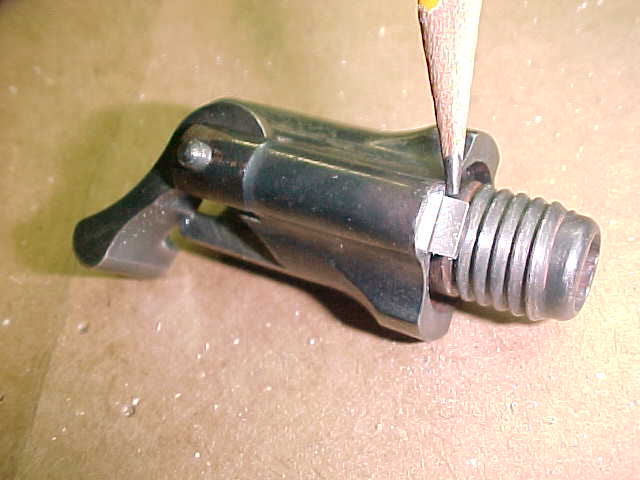
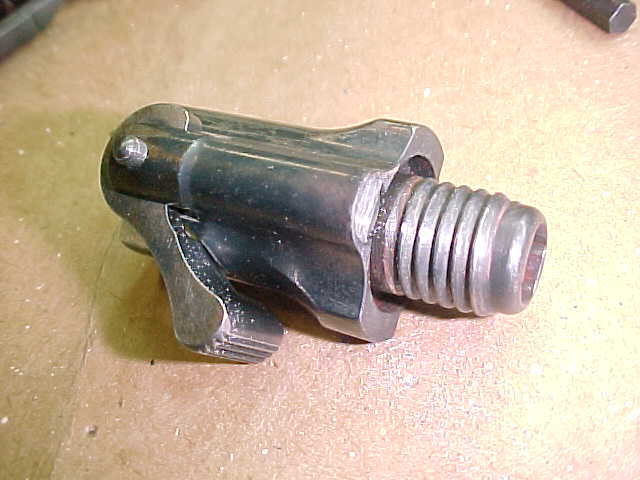
NOW, the small, half-round piece is silver-soldered in the safety spindle hole just flush with the end that screws into the bolt body.
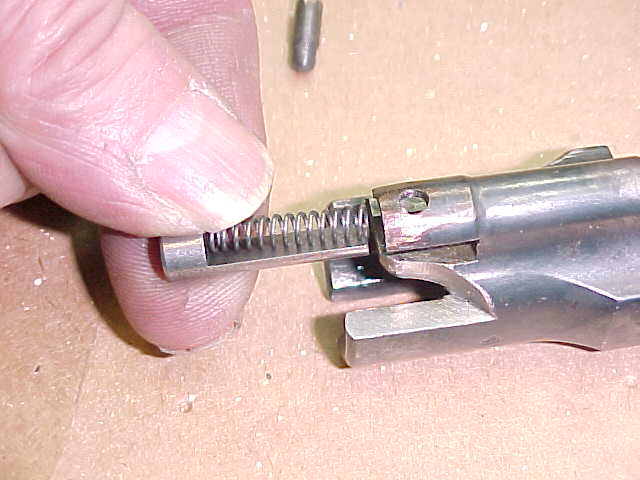
Now the remaining parts can be installed. The spring and plunger are installed. Followed by the pivot arm and finally the pivot pin.
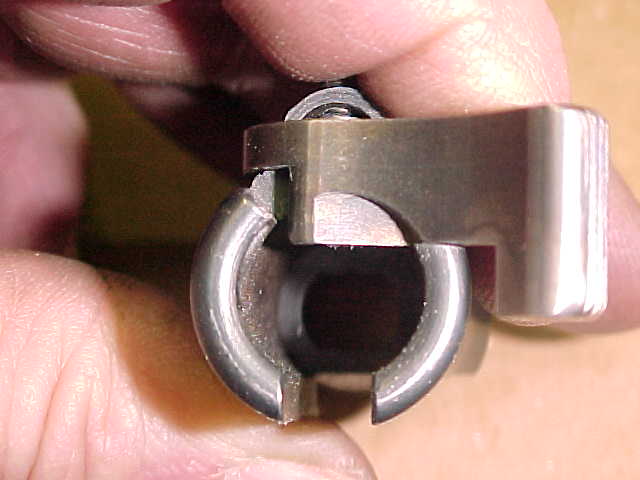
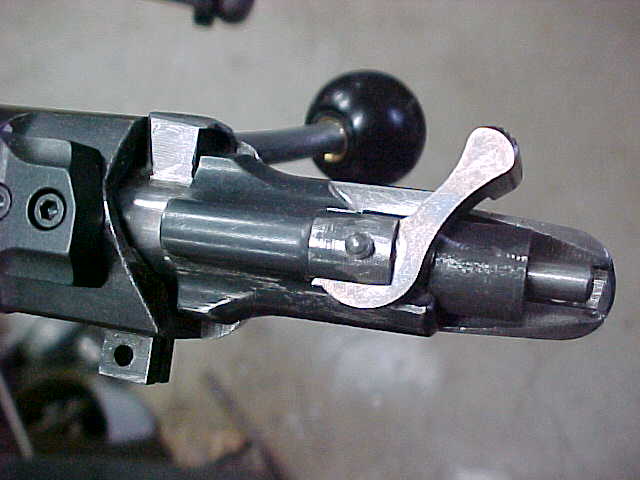
Here is the safety assembled, in the "SAFE" position, with the bolt lock extending outward (it needs trimmed).
And here Ý Ý Ý is the safety in the "FIRE" position. Note that the bolt lock is retracted. The bolt lock is the end of the plunger J , in case you didn't get that. It moves to and fro when the safety in moved from "FIRE" to "SAFE" and back, locking the bolt shut in the "SAFE" position.
Finally, here Ý Ý Ý is the side-swing unit in place in the safe position, and
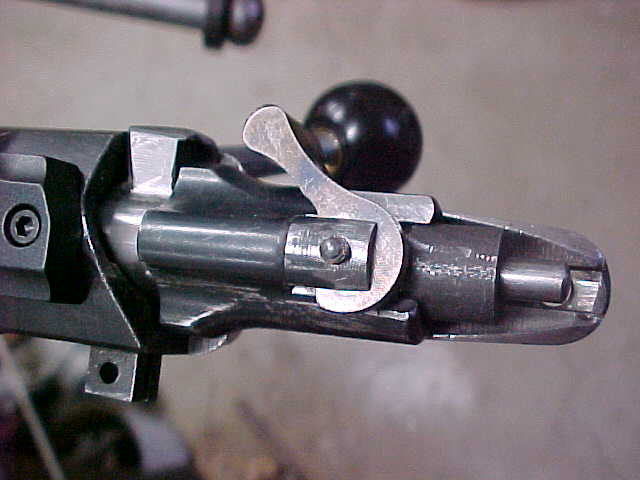
in the "FIRE" position. Ý Ý Ý
This will take you to the Index for this series.
This will take you to the Wagner Home Page